Organizing Your Outdoor Gear for Active Colorado Individuals and Families
If you live in Colorado, chances are you own more outdoor gear than the average person. Skis, snowboards, hiking boots, climbing harnesses, camping stoves, fishing rods, paddleboards, bike helmets, and somewhere in there, the kids’ soccer cleats from last spring. Sound familiar? Many of my clients in Littleton tell me the same thing: they love their active lifestyle, but the gear has taken over their garage, mudroom, and half the basement.
I get it. We didn’t move to Colorado to sit on the couch. But when your hiking poles are tangled up with last summer’s pool noodles and you can’t find the matching glove to your favorite ski pair, something has to give. The good news is that organizing outdoor gear is one of the most satisfying projects I help families with, because it directly impacts how often you actually get out and use the stuff.
Let’s walk through how I approach it, step by step.
Pick One Home for Your Gear
Before you sort a single thing, decide where your outdoor gear is going to live. This is the step most people skip, and it’s why the gear keeps creeping back into the entryway, the hall closet, and the corner of the bedroom.
For most of my Littleton clients, the garage is the natural choice. It’s accessible, it can handle dirt and snowmelt, and it’s usually close to the car for loading up. But the garage isn’t right for everyone. If you have a finished basement with a utility room, that can work beautifully, especially for gear you don’t use weekly. Even a single hall closet, dedicated solely to outdoor gear, can be enough for a smaller household.
My rule of thumb: pick the spot closest to the door you actually leave from when you head out for activities. If you load the car from the garage, store gear in the garage. If you walk out the front door with the dog and your hiking pack, a front entry closet makes more sense.
Sort by Activity, Not by Object
Once you’ve picked the location, sort everything by activity. This is the part where people get tripped up because they want to sort by “type of thing,” like putting all the bags together and all the shoes together. Nope, that’s a trick, lol! Sort by what you do.
Here’s how I break it down with clients:
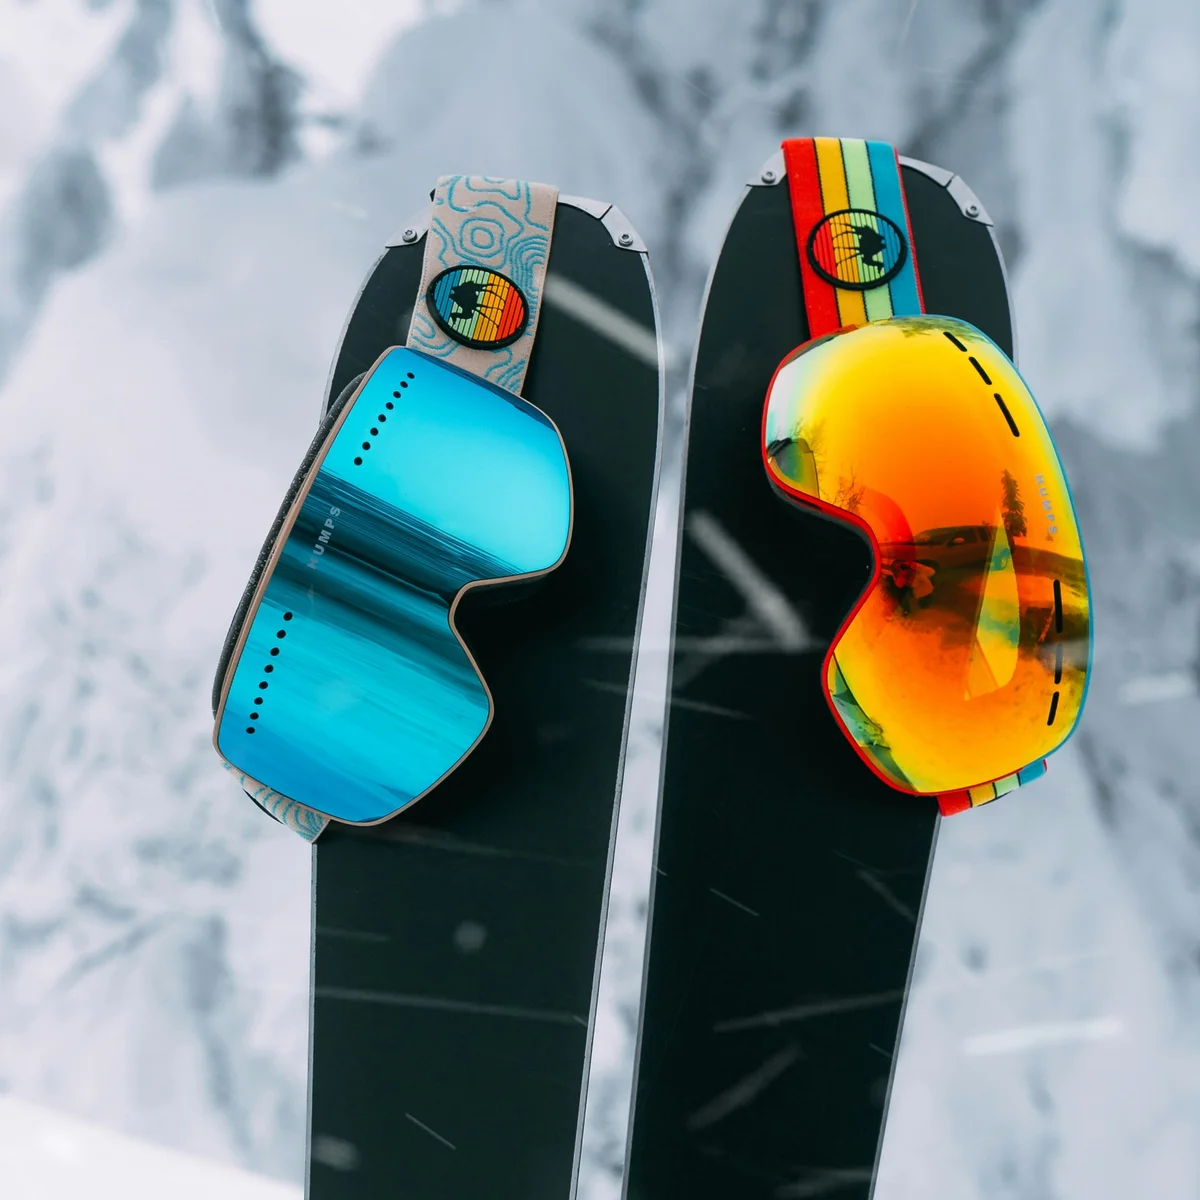
- Snow sports: skis, poles, boots, helmets, goggles, base layers, hand warmers
- Hiking and backpacking: boots, poles, daypacks, hydration bladders, rain shells
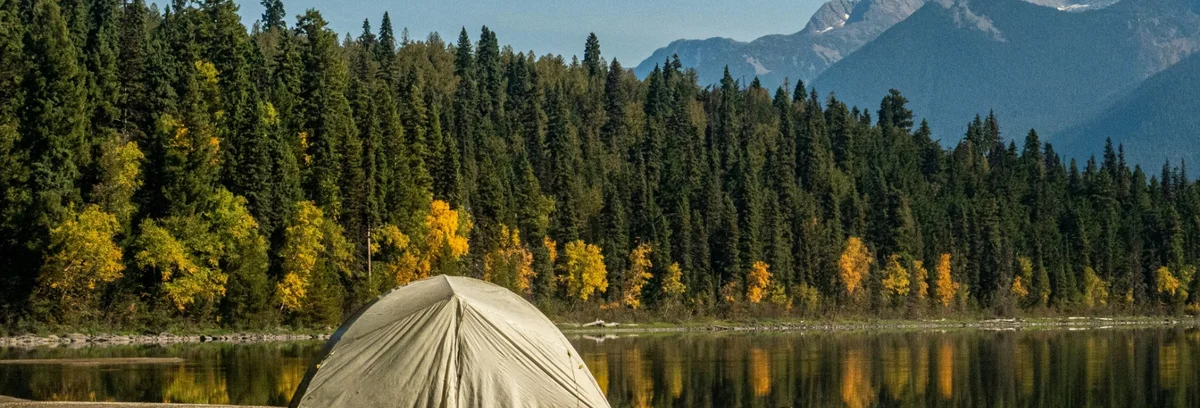
- Camping: tent, sleeping bags, pads, stove, lanterns, mess kit
- Water sports: paddleboards, life jackets, dry bags, water shoes
- Biking: helmets, bike shoes, repair kit, gloves, pumps
- Climbing or other specialty: harness, rope, shoes, chalk
When everything for one activity lives together, packing for a trip takes minutes instead of an hour. You grab the camping bin, do a quick check, and you’re out the door.
Decide What Actually Stays
This is where I gently push back on the “but I might use it someday” thinking. If you haven’t been camping in seven years and the tent has mildew on it, it’s okay to let it go. I’m not finding fault, I’m just saying that holding onto gear for the life you used to live takes space away from the life you’re living now.
I had a road bike for several years that was never comfortable to ride. Every time I looked at it leaning against the garage wall, I felt a little twinge of guilt that I wasn’t riding it more. During Covid, when used bikes were suddenly in huge demand, I sold it. Someone else was going to get a lot more joy out of that bike than I was getting from staring at it. Out it went.
Ask yourself three questions about each item: Did I use this in the last two years? Does it still work and fit? Would I buy it again today? If the answer to any of those is no, it can go to a consignment shop, gear swap, or donation pile.
Use Vertical Space and Clear Bins
Once you’ve sorted and pared down, storage solutions matter. Outdoor gear is bulky, awkward, and often wet or dirty, so traditional shelving doesn’t always cut it.
My favorite garage tricks:
- Wall-mounted ski and snowboard racks. A $40 rack frees up an enormous amount of floor space and keeps your edges off the concrete.
- Small containers for small items. Bike helmets, hydration packs, headlamps, and dog leashes all hang neatly.
- Clear large stackable bins, labeled by activity. I prefer clear so you can see what’s inside without opening every lid. Label them “Camping,” “Backpacking,” “Climbing,” etc.
- Hooks at kid height. If your children are old enough to grab their own helmet and gloves, store them where they can reach. Game changer for getting out the door faster.
Build a “Returning Home” Routine
This is the part nobody talks about, and it’s why so many garages end up chaotic again three months after they get organized. When you come home from an activity, gear needs a path back to its home. If wet gear gets dumped in a pile by the door, it stays there.
In my own house, we have a simple rule: gear gets dried, then put back in its bin or on its hook before we sit down. It takes about five minutes after a hike. Compare that to the four-hour reorganization session you’d otherwise need every spring, and five minutes feels like a bargain.
If you have kids, this is also where you teach them to take ownership of their own equipment. A six-year-old can hang up a bike helmet. A ten-year-old can roll their sleeping bag.
Ready to Reclaim Your Garage?
Outdoor gear organization is one of my favorite projects because the payoff is so immediate: you stop dreading the garage, you actually use what you own, and you get out the door faster on the days the weather is perfect. As a professional organizer serving Littleton and the Denver area, I love helping active families build gear systems that hold up to real Colorado life. Contact me today to schedule a consultation, and let’s make space for more adventures and less searching.