How to become a pantry organizer!
Are you ready to turn your chaotic pantry into a space of peace & order? Do you want an organized pantry but don’t know where to start? Check out this step-by-step guide on how to become your very own pantry organizer! This is a how-to guide on decluttering, sorting, and organizing your pantry! You can definitely do this!!!
1. Remove all items from the pantry one at a time.
Yes, shelf-by-shelf! BUT as you empty them, you MUST sort and discard the expired items and trash expired food! I recommend working from the bottom up and left to right to stay on track. This visually helps you achieve your goal. Also make sure you remove items that don’t belong in your pantry that have snuck their way in! Give yourself a hand, you have started this project!
2. Categorize items.
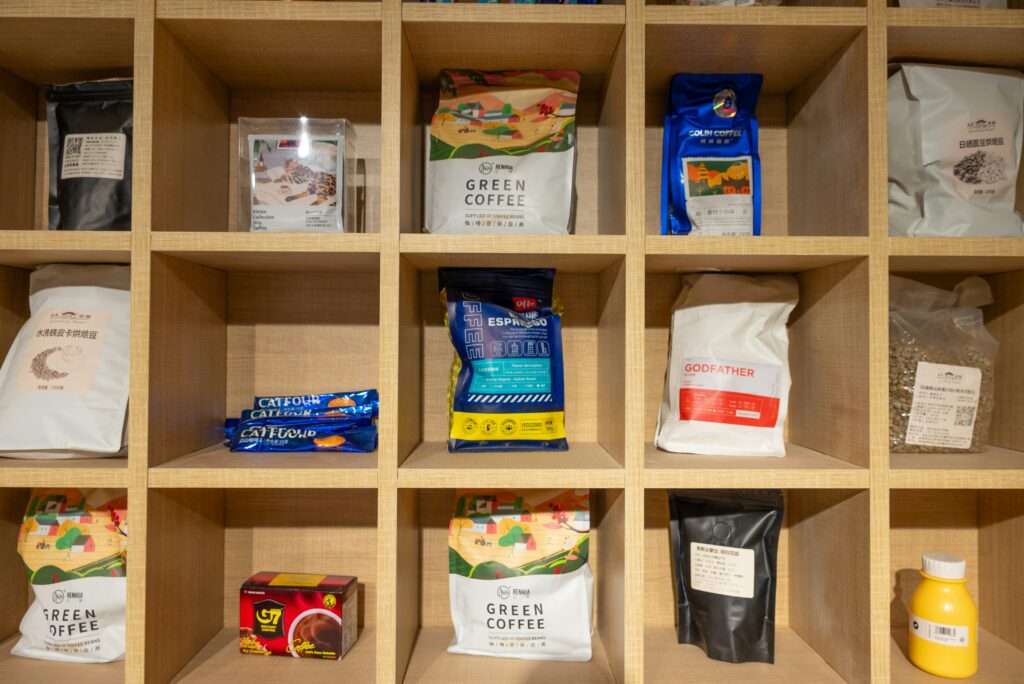
Place similar items together into different categories or zones first, then you can get more detailed later depending upon your style of usage. For example: baking with baking, grilling items together, spices with each other, group breakfast foods, and snacks with each other. Place canned goods in the same area.
3. Sort like things together.
Once the big categories are together then you can put like items together such as within baking, place all the flour together, all the rising agents like baking powders and sodas with each other. Is this making sense yet? I bet you are doing an amazing job!
4. Zone your pantry.
Decide what areas in the pantry should be for which zones. Make the zones you use the most on the shelving that is most accessible. For me the most accessible zones are at trunk level and includes canned goods and meal items like grains, beans, and spices. If you want the kids to be able to reach the cereal and snacks themselves, place them in areas that are most convenient for them!
5. Containerize!
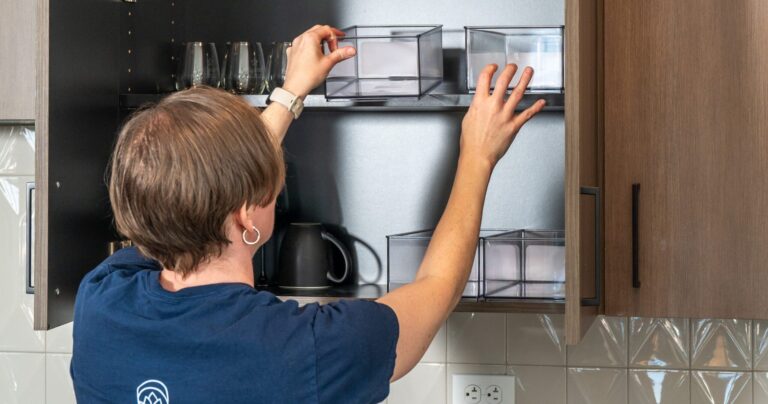
Many items need containers but not all. This step is optional but will truly help you maintain the space you worked so hard on! The investment is worth it, I promise! You can use containers from The Dollar Store, The Container Store, Target and more! It really varies upon what you can afford to spend and how long you want it to last. I have attached a picture of my favorite bin from The Container Store for pantries. I also must insist upon buying clear containers. Clear so that you can see exactly what is contained! =:)
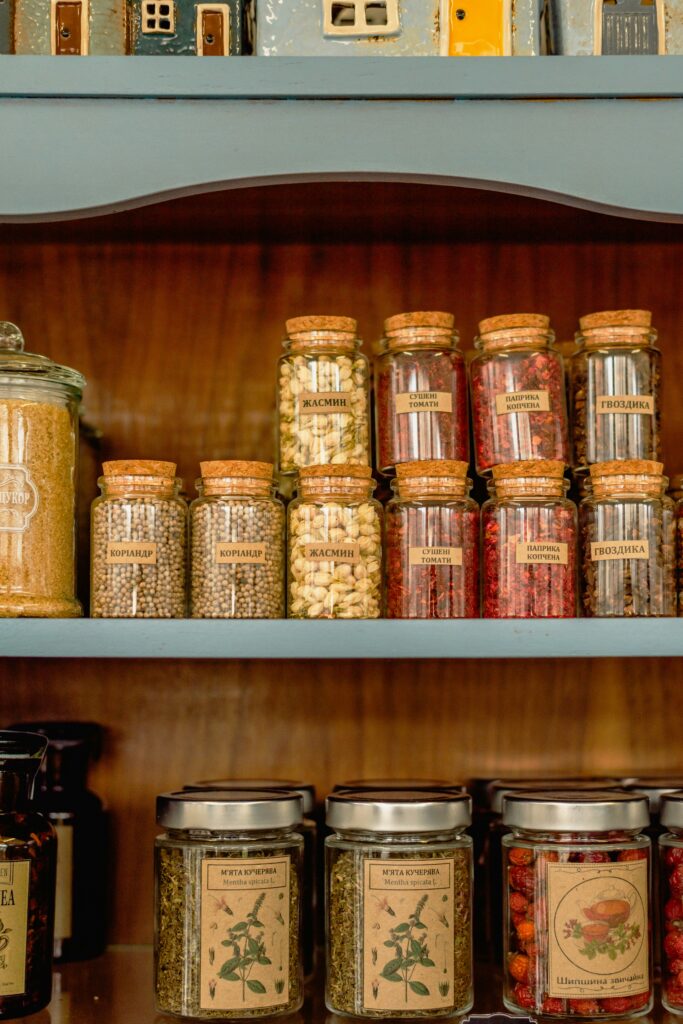
6. Label your containers and arrange your them in the appropriate zones.
I highly encourage labeling because even if you know where things are, if your babysitter or mother-in-law comes into your home, it will be loads easier for them to find things! If you have excellent handwriting, you could hand write your labels. I have hideous handwriting, so I choose to use a LabelMaker, Cricut, or printed labels from Avery templates on my computer. There are many types of labels so choose what works for you! The different types include metal, plastic, paper, and erasable. Here is a picture of a label I created with a scrapbooking method. This was my first stab at making labels and I love the way they look, but it was ultimately too time- consuming for mass production. Labels vary greatly in price, color, and size so choose what you like and is within your budget.
7. THE BEST STEP!
Admire your accomplishment & congratulate yourself! You did an amazing job! Congratulations, you are now an official pantry organizer! If you have any questions, feel free to reach out to me!

