How to Clean Out Your Shed: A Complete DIY Guide for Garden Organization
Transform your cluttered shed into an organized gardening paradise with this step-by-step guide from OrderAndMore.com
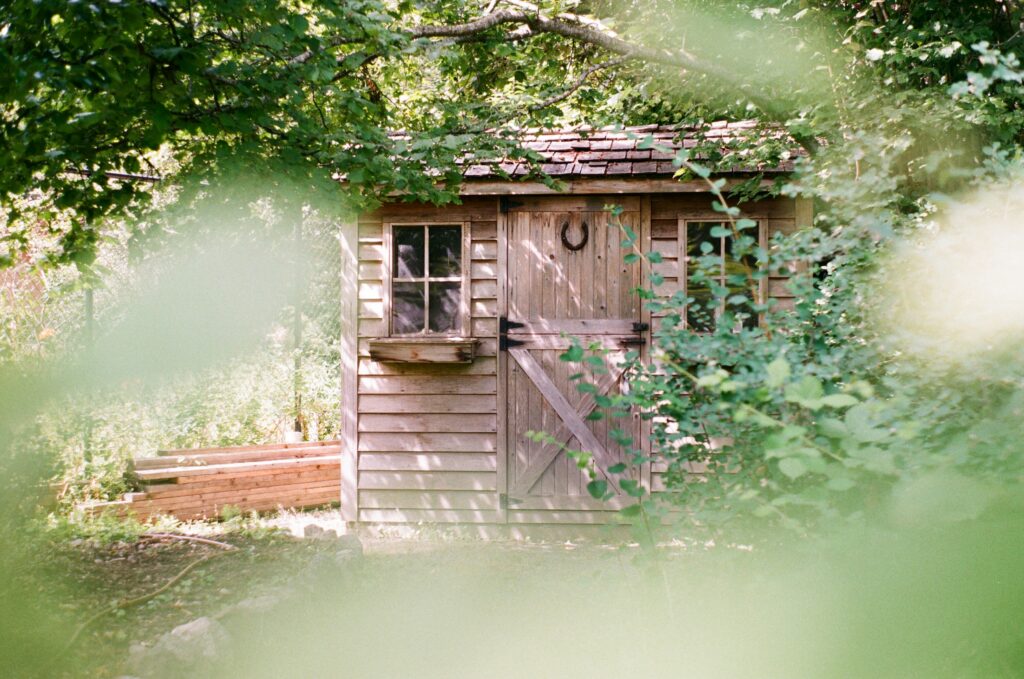
Introduction
Are you a passionate gardener who can’t find essential tools in your cluttered shed? If digging through piles of equipment has become your daily routine, it’s time for a complete shed cleanout and organization project. This comprehensive DIY guide will help you transform your chaotic storage space into an efficiently organized gardening hub.
Step 1: Gather Items from Around Your Property
Before diving into your shed, take a walk around your property to collect items that belong in your garden storage area:
- Check your garage for misplaced garden tools
- Look in your basement or house for seasonal items
- Gather any outdoor equipment that’s been left around your yard
This preliminary step ensures you’re working with everything that should be stored in your shed, giving you a complete picture of your storage needs.
Step 2: Empty Your Shed Completely
The key to effective shed organization is starting with a clean slate. Remove every single item from your shed and lay everything out in your yard or driveway. This allows you to:
- See exactly what you own
- Assess the condition of each item
- Plan your organization strategy effectively
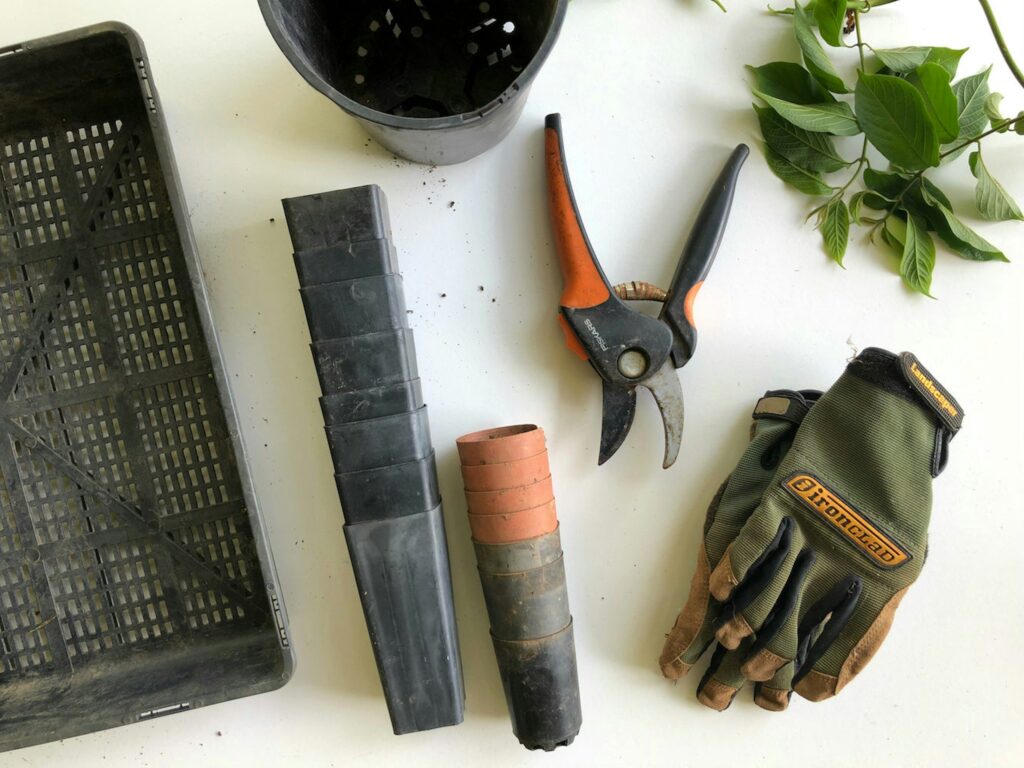
Step 3: Sort and Group Similar Items
Organization becomes much easier when you group like items together. Create distinct piles for:
- Hand tools (trowels, pruners, hand cultivators)
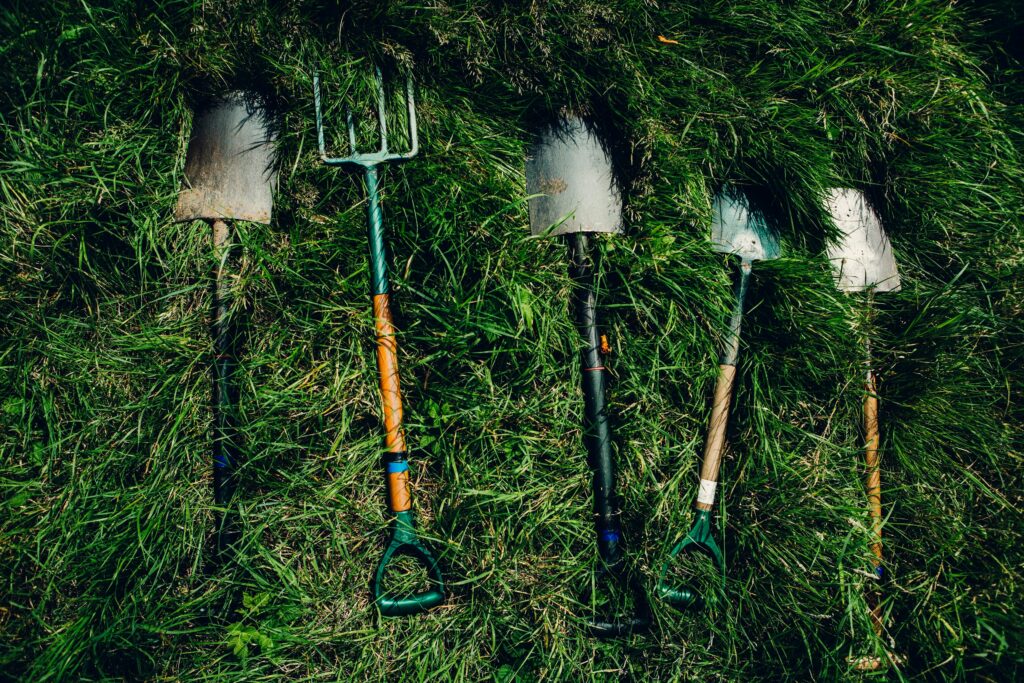
- Long-handled tools (shovels, rakes, hoes)
- Plant care supplies (fertilizers, plant food, pesticides)
- Seeds and bulbs (vegetable seeds, flower seeds, lawn seed)
- Containers (pots, planters, trays)
- Seasonal items (holiday decorations, winter equipment)
Step 4: Declutter and Make Decisions
Now comes the crucial decluttering phase. Evaluate each category systematically:
Keep the Best, Donate the Rest
- For duplicates: Keep the tool in the best condition or the newest version
- For unused items: If you haven’t used something in 1-2 years, consider letting it go
- For broken items: Repair if economical, otherwise dispose of responsibly
Sustainable Disposal Options
- Buy Nothing Facebook groups: Perfect for items others might need
- Neighborhood sharing pages: Great for local community members
- Rural recycling centers: Many have exchange areas for reusable items
- Habitat for Humanity ReStore: Accepts tools and hardware in good condition
Step 5: Plan Your Shed Layout and Zones
Before putting anything back, design an efficient layout:
Create Functional Zones
- Tool zone: Designate areas for different types of tools
- Supply zone: Group fertilizers, seeds, and chemicals together
- Container zone: Stack pots and planters efficiently
- Seasonal zone: Store less-frequently used items higher up
Maximize Vertical Space
- Install tool strips or pegboards for hanging tools
- Use wall-mounted bins for small items
- Keep frequently used tools at eye level
- Store heavy items at waist height or below
Step 6: Implement Storage Solutions
Keep Items Off the Floor
Floor storage leads to damage from moisture and pests. Consider these solutions:
- Shelving units: Metal shelving works well for durability
- Wall-mounted tool organizers: Pegboards with hooks and holders
- Ceiling storage: For seasonal items and rarely-used equipment
- Mobile tool carts: Easy to move around your garden
Organization Tips for Long-Term Success
- Label everything clearly
- Store chemicals safely and according to manufacturer instructions
- Use clear containers for small items like screws and plant ties
- Create a “return policy” – always put tools back in their designated spots
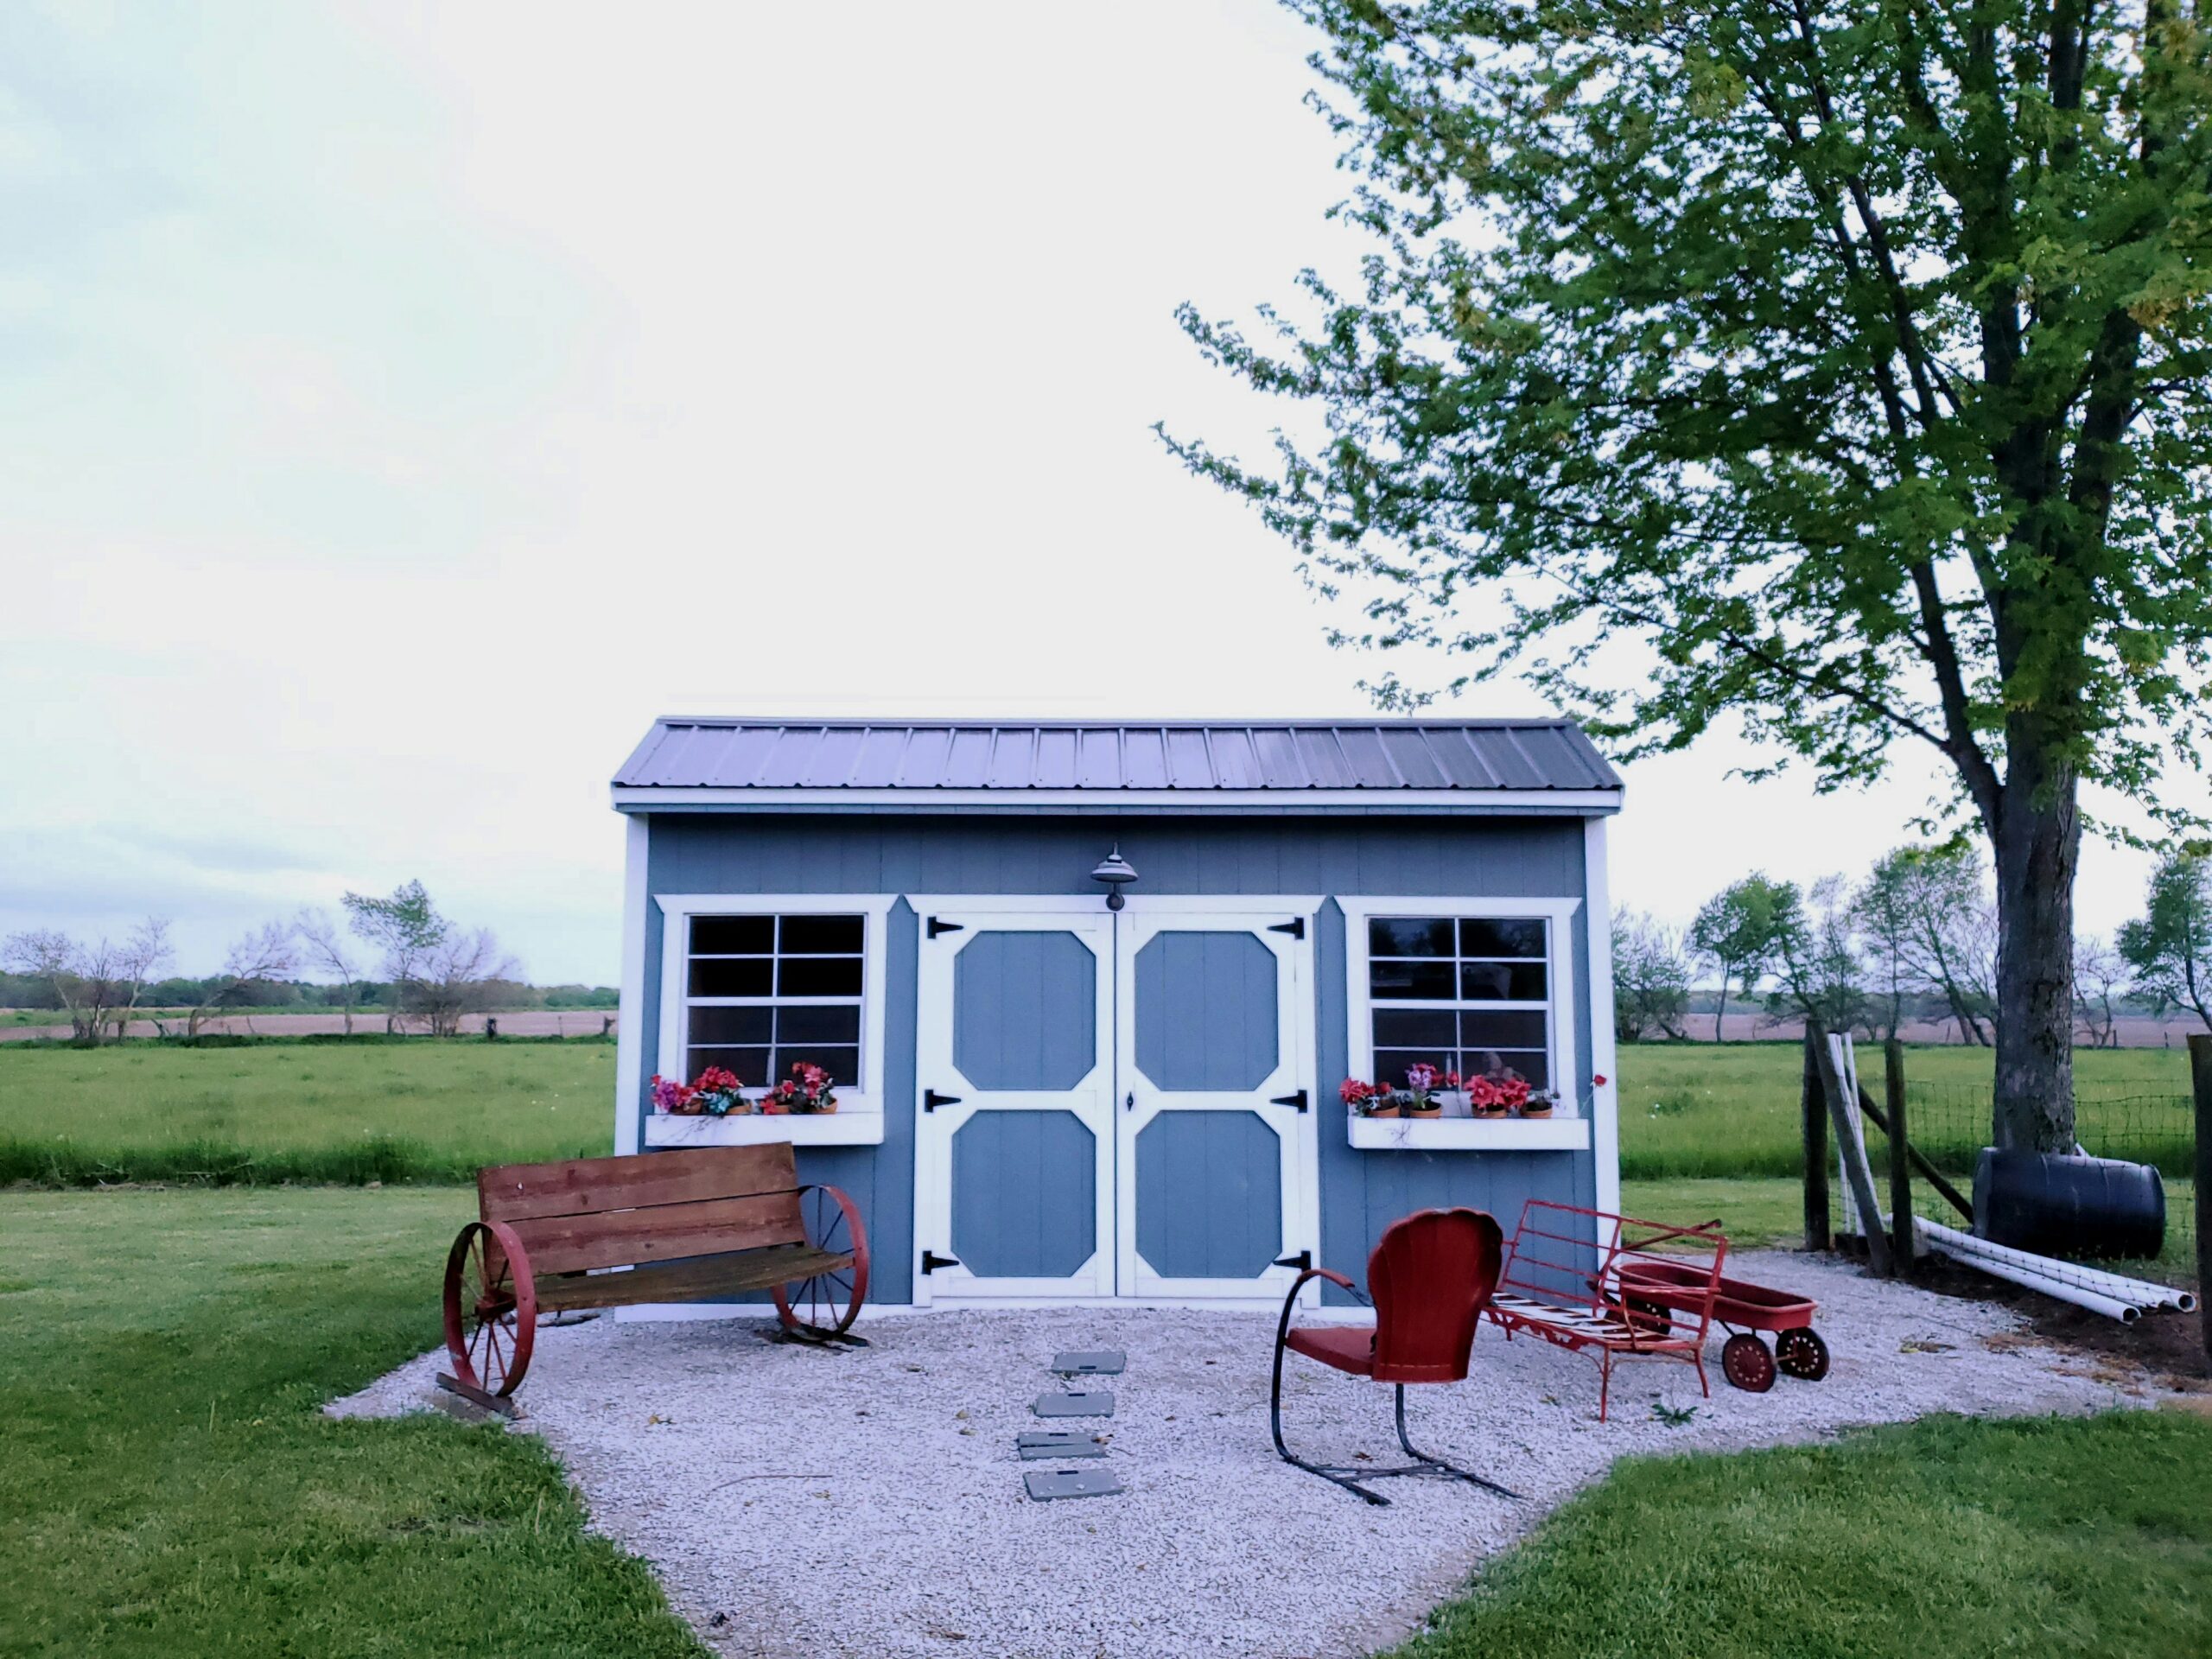
Conclusion: Celebrate Your Success!
Congratulations! You’ve successfully transformed your cluttered shed into an organized, functional space that will make gardening more enjoyable and efficient. Your future self will thank you every time you can quickly find the exact tool you need.
Remember, maintaining your newly organized shed is an ongoing process. Spend a few minutes after each gardening session returning tools to their proper places, and schedule a seasonal review to keep everything in order.